Third Year Production
Thursday, 20 January 2011
Evaluation
Friday, 14 January 2011
An old blog update I forgot to publish!! - 20th December
The main development since the last presentation has been my Maya scenes. I have focused on learning how to model, sculpt, rig and animate each of the elements I needed. As part of my narrative depicts a volcano, I have also learnt the basics of Maya Dynamics and particles in order to create a realistic yet surreal scene.
One of the main changes from my original proposal has been the focus on one narrative as opposed to the original 6 and then 2. The reason for this is that as I am learning the software as well as creating my animation, I am facing many problems and difficulties that are beyond my current level of ability. Although I would have loved to have created the original two scenes that I wrote the scripts for, given the timescale it would have been impossible.
I have not, however, disregarded the 'Quest for an Item' narrative; I have developed and written the script, as well as recorded the voice over so that should I carry on with this animation series, I have the basis to do so. There is a strong possibility that this could be my project for next semester alongside another narrative, as my skills have drastically developed this semester allowing me to work much faster.
Storyboards
Terrance
Developing and creating Terrance was much more of an issue than I originally thought!
I have faced many, many problems with first of all modeling him, and secondly rigging him to move the way I desired. However, after much frustration, many tutorials, help from dave and a few more tweaks and I will be completely happy with him.
Below I will outline the steps that I initially went through to create my main character, however I won't go into too much detail as I ultimately had to re-do this model:
First of all I found this tutorial -http://www.creativecrash.com/maya/tutorials/character/c/real-time-character-modeling-tutorial
Which outlined how to model a character using image planes and polygons. From this I then drew each of my image planes (shown below) as reference material and added Polygon cylinders for each of the main parts (arms, legs and body), only doing half so that I could mirror it later.
From this I scaled and moved the vertices to shape my model to match my image planes as seen in the image below

From this I added other aspects such as the head, and used the smooth proxy tool to give it a much smoother look. I then joined the vertices from the arm to the body and the leg to the body and merged and combined them to give an overall figure as opposed to many different parts, as shown below.

From here I then tweaked vertices, split polygons to add detail, extruded surfaces and manipulated sections to create the level of detail I wanted.
To create the eye sockets and mouth I used the split polygon tool to create edges and vertices where desired and selected these vertexes and pushed them back and scaled them until I achieved my desired result.
I also needed to create a shell for my character, and mirror the whole model so as it's symmetrical. For the shell I created another sphere, and used the same method as before, adjusting and scaling vertexes to get the details I needed. Having mirrored it I then used the same principle of bonding the adjacent vertexes and merging and combining the two objects.
As you can see from this image, there is a strange groove down the centre of my character that after lots of frustration and help from dave I still could not get rid of. Also as I had smooth proxied the model, so is there wasn't clear face divisions, It left behind a semi-transparent outline that wasn't deletable without deleting the smoothed model.
This meant that I had to restart my character, as it was unfixable. Although this was extremely frustrating, it provided a great learning curve, and I was now much more experienced to begin making him again.
Second Terrance Model
Dave recommended I used the blackboard bambi model that uses nurbs as opposed to polygons to re-model my character.
It was a lot the same, except for adding isoparms as opposed to using the split polygon tool to add detail and mould my character the way I'd desired.
I was much more pleased with the overall result of my character using this method. I'd faced very little problems in modelling, only where my understanding of the programme was not too great, and he looks much smoother and more professional as opposed to the previous model. I was also able to add other details that I'd desired such as the look of fingers and toes.
Also as I was using nurbs, I did not have to mirror the object, making the problem of having a ridge no longer an issue.
Below is the finished character before texturing:
Texturing
As I'd only had experience in texturing polygons before, where you could easily select faces and assign as many textures as desired to one polygon shape; I wasn't too sure whether nurbs operated in the same way.
After much frustration of being able to see the assigned texture in perspective view when placing it on the control vertexes I'd wished, but not on the render view; I found that they didn't work the same. As I needed to assign two textures to the body, one for the shell and another for the soft body, this was a problem.
To solve this I had to split the shell from the body, so that they are separate items and can be textured correctly. To do this I selected the appropriate isoparms that divide the shell from the body and used the detach surfaces tool.
To each of these nurbs I then assigned the appropriate textures, after creating them from lamberts for the skin and a Blinn for the shell to give it a shine.
The files that I created for each of these using different bruses and paint effects in photoshop are shown below. The face, as I wanted a slightly darker area around the mouth and nose, was a case of trial and error to get it positioned correctly.


From Top: Skin, Shell, Head, Eye
The overall textured character:
Rigging was another part of creating my character that I found extremely difficult.
The main issues were: skin binding to the joins strangely when parenting the arms, legs, head and tail to the body, not deforming correctly or appearing disjointed from the body when moving.
However, the process of trial and error again and a bit of help from dave gave me the overall outcome that you can see below:

The volcano used many of the processes that I have used before to create my scenes, however new skills that I learnt whilst modelling and creating the eruption are:
Converting polygons to subdivisions and using partial crease edge/vertex to make it feel more natural.
Using the sculpt geometry tool to give it definition and detail
How to use emitters converting it to sprites to create heavy smoke
How to use other emitters and tweak the particle attributes to create a lighter smoke and the glow from the volcano.
Below is a clip from the finished result, a video clip can be found on the 'clips' page:
Lighter
Another aspect that tested my maya modeling, dynamics, particles skills was the lighter. As this was the catalyst for Terrance's dream it was important to create it well and to get the fire working. I am very pleased with the finished result and creating it was a great learning curve.
My skills in the following were used to create this model and effect:
Creating curves
Using them to model objects by lofting them and adding planars'.
Adding circular fillets
Using the round tool to give smoother edges
Although I struggled with many of these tools at times, persevering with them has proved a great advantage to the rest of my project as I have been able to add the level of detail and style that I wished to achieve.
Below is a screen shot from the video file that can be found under the 'clips' tab:
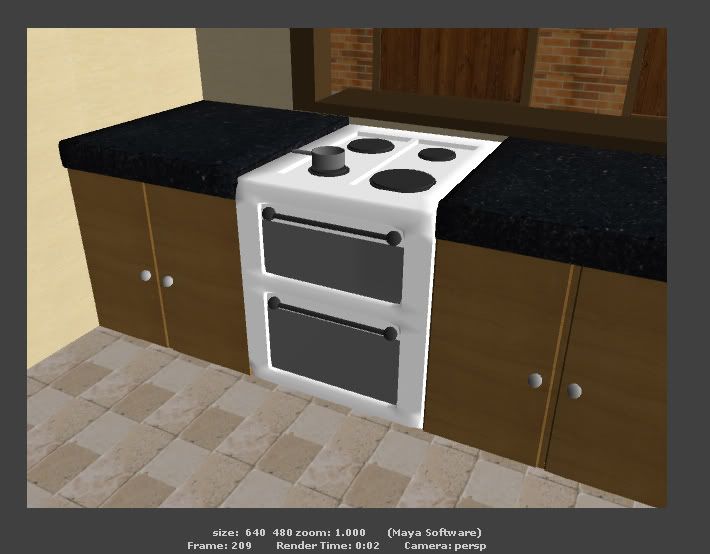
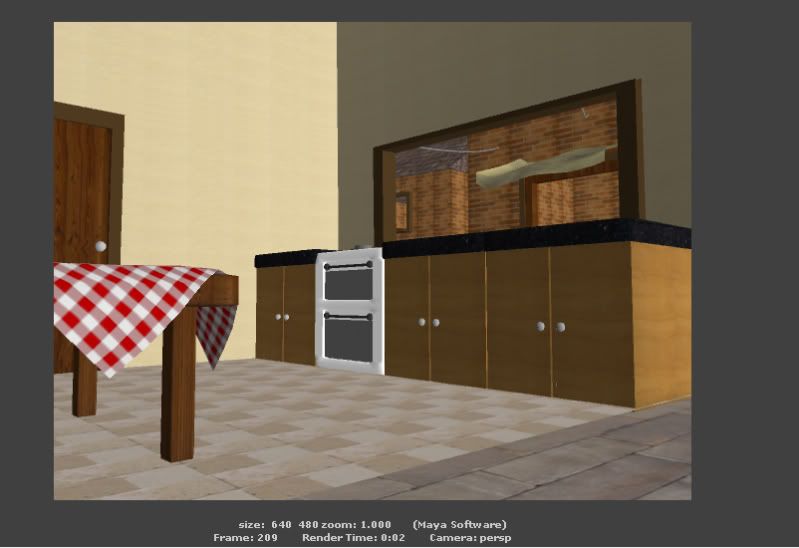
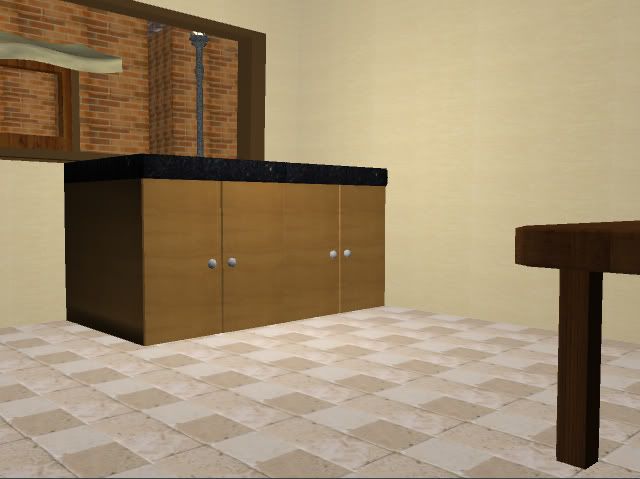
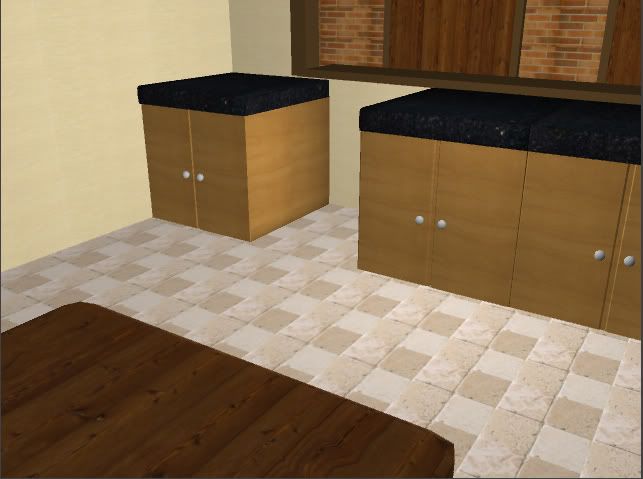
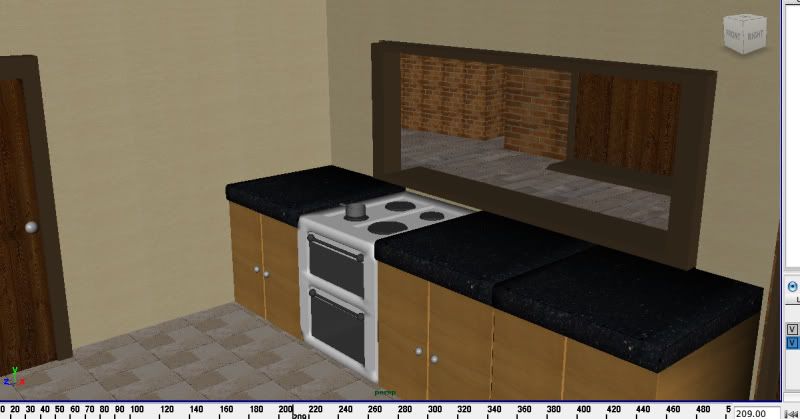
Kitchen and Basement Scene
As the kitchen and basement scene used all the techniques and skills I have used previously I will not go into detail too much into this, other than showing the overall outcome.
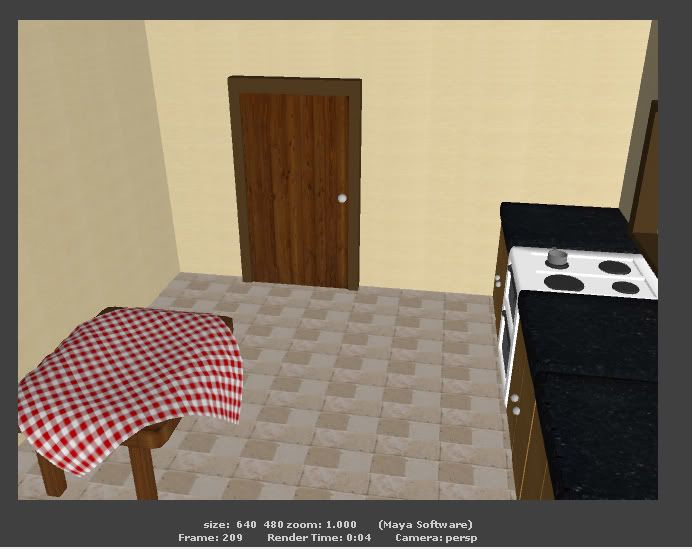
The one skill that I did learn in creating this scene was how to turn polygons into cloth objects and making another polygon a collision object so as it deforms around this object (as shown through the table cloth). As the cloth object carries on deforming until the timeline is stopped, making it ultimately fall off of the table. To prevent this happening and to have it as a static object, I stopped the timeline at the desired place and duplicated the cloth and replaced it for the soft object.
This is my final scene (the reason for it not touching the floor and the walls being transparent is for ease of animating and camera movements, this will not be shown in the animation itself):
Developments to outside Scene
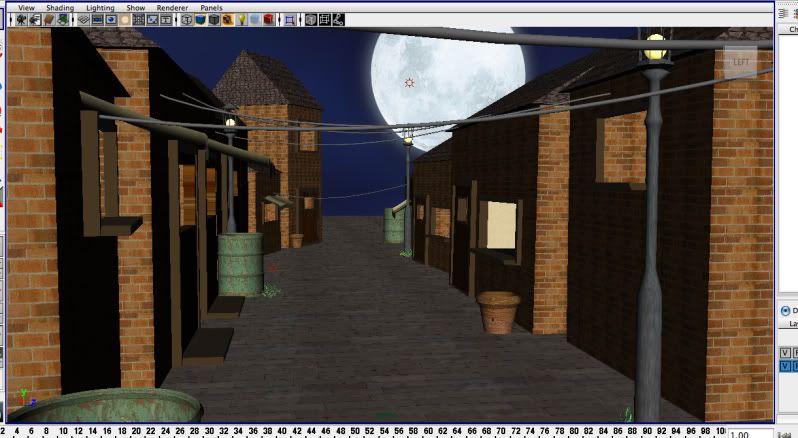
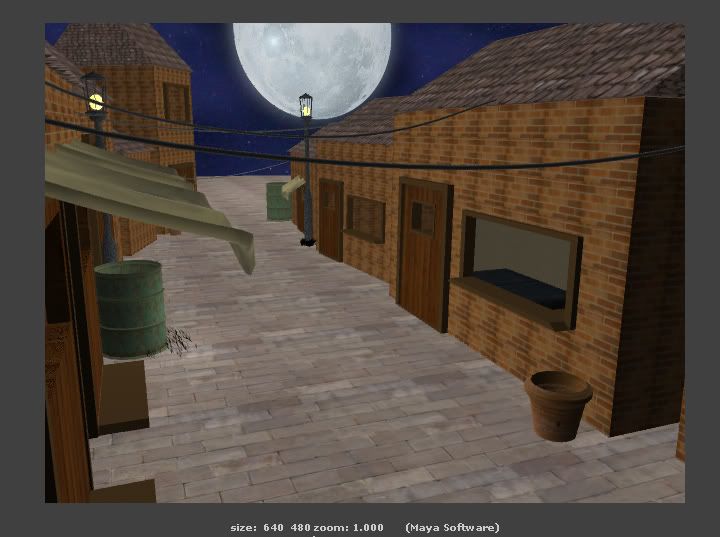
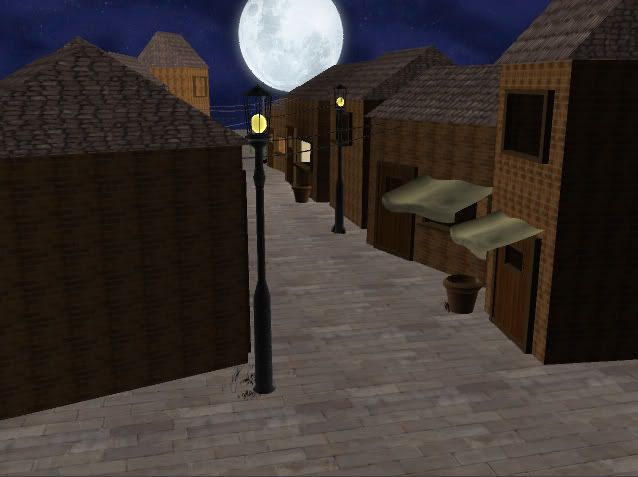
Below is a picture depicting the changes I have made to my outside alley scene. These mainly include using brushes to add grass and changing the attributes of the lamp posts to depict lights and learning the basics how to light a scene desirably using shadows.
For the narration of my piece, I felt that a strong, male, British voice would be most suitable for the role. After a few emails to various people Andrew David from Siren FM said he'd be extremely willing to help me out. As I wanted a typically british voice, he fitted the bill perfectly.
As I was recording him reading the script, it felt as though everything had come together and that it would complement my scene very well! He brought the whole narrative to life with a sense of passion and emotion; exactly what i'd wanted my narrator to do! So I am extremely happy!
Tuesday, 11 January 2011
Updates before hand in
Sunday, 12 December 2010
A Very Neglected Blog!
Sunday, 21 November 2010
To do list updates
Things completed since last to do list:
- storyboards
- revise my scripts before recording
- record voice over (three possiblities, need to phone tomorrow to organise times, hopefully mid week!)
- change the textures on my main scene
- Add grass, clothes, possibly some trees
- found lava and volcano tutorial
- sort out the layout and design for dvd cover and menu
- promote the surveys more (cannot find any more children to do it, may take to the streets!
- create the monster and texture and rig
- create the bear/item that Terrance carries with him
- create the volcano!
- create lava
- add flames to the lighter (tutorial online)
- create the lava creatures
- create the bedroom (bed, bedside cabinet, curtains and lamp [if possible]) (MAYBE NOT NEEDED)
- drainpipes down the side of the house and [possibly] trellace
- texture and rig Terrance
- light all the scenes appropriately
- and ultimately learn and animate the whole two scenes!


